
Dolby Atmos Home Theater System: What You Actually Need
What a Dolby Atmos home theater system needs beyond a normal surround setup, and how to decide if the upgrade is worth it for your room.
Contents8
- What Atmos adds on top of a normal system
- Why the ceiling matters more than the speakers
- The receiver has to support it
- Do you actually need it
- Plan the wire before you close the ceiling
- Common mistakes worth avoiding
- Count the complete Dolby Atmos home theater system
- Dolby Atmos home theater system verdict
A Dolby Atmos home theater system needs a supported source and decoding, plus speaker layout. A receiver-based layout can add height speakers to the ear-level channels. A soundbar uses a different arrangement. Do not assume the same channel label describes the same physical speakers in both systems.
What Atmos adds on top of a normal system
An Atmos mix can place sound above the listener as well as around the room. The chosen playback system renders that mix for its layout. In a receiver-based system with passive heights, those speakers need amplifier channels. Check supported processing and speaker assignment separately.
Two ways to add height:
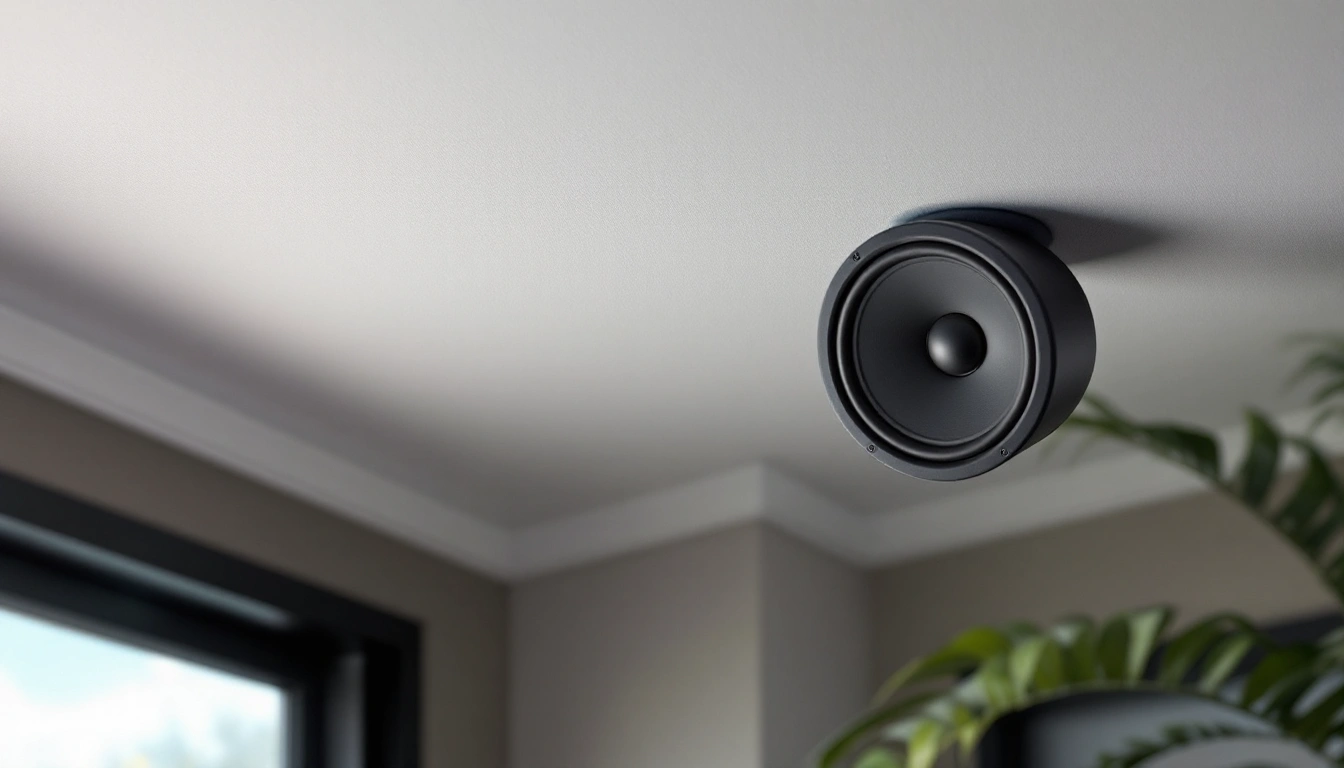
- In-ceiling speakers, wired into the ceiling itself, give the most accurate and consistent overhead effect because the sound comes from exactly where it should. They're the harder retrofit, since they usually mean running wire through a finished ceiling or planning for it during a remodel.
- Upward-firing modules, either standalone boxes or add-on modules that sit on top of existing front and surround speakers, aim sound at the ceiling and let it bounce back down to the listening position. They're a much easier retrofit; no ceiling work; but they depend entirely on having a ceiling that reflects sound well.
Why the ceiling matters more than the speakers
Upward-firing modules use a reflected path. Ceiling angle and surface, plus obstacles can affect it. Check the module's requirements against your ceiling. Do not treat a vaulted room as proof that every Atmos method will fail.
Direct overhead speakers use a different path. They need safe fixing and a route for their wires. If that work is not practical, compare a simpler layout. Avoid promising a precise height effect from a ceiling photograph alone.
The receiver has to support it
Not every AV receiver can drive height channels; check the specific model's supported speaker configuration before assuming it will work with an Atmos layout. You need:
- Enough total amplified channels for your base layout (5.1 or 7.1) plus the height speakers on top.
- Atmos decoding support, which is standard on current mid-range and above AV receivers but not universal on older or entry-level models.
- HDMI inputs and outputs that pass the full Atmos audio bitstream from the source (a streaming box, disc player, or game console) through to the receiver without downgrading it.
Do you actually need it
Check the content you actually use. Atmos needs a supported mix and playback path. An ordinary stereo program is not an Atmos mix because the receiver can upmix it. Build a clear front stage and usable bass first if those are the current problems.
Plan the wire before you close the ceiling
Mark each height-speaker spot on the room plan before any cable is pulled. Check that the run avoids light fittings and ducts. Check for pipes and joists too. Leave a clear label at both ends of every cable. If the ceiling will stay closed, run the spare pair now; adding it during a future upgrade is harder and usually costs more than the wire.
Common mistakes worth avoiding
- Adding upward-firing modules under a bad ceiling. Test or at least inspect the ceiling honestly before buying; a vaulted or acoustically soft ceiling wastes the investment.
- Buying height speakers before checking receiver channel count. A receiver maxed out at 5.1 channels can't add two more speakers without a channel-count upgrade or a separate amplifier.
- Assuming all your content is Atmos-mixed. Not every movie or show carries Atmos metadata; the system falls back to standard surround for anything that doesn't.
If you're still deciding on the base layout before adding height, start with a 5.1 home theater system and treat Atmos as the next step once that foundation is right for your room.
Count the complete Dolby Atmos home theater system
Decode the layout notation
In 5.1.2, five is the ear-level channel count, one is the low-frequency channel and two is the height count. A typical passive-speaker version needs seven speaker amplifiers. The powered sub has its own amp. Write the full layout before choosing a receiver.
In 5.1.4, four heights make nine passive speaker channels. That changes the amplifier requirement. A receiver may process more channels than it can power internally. Extra pre-outs do not supply speaker power on their own. Check the exact manual for any required external amplifier.
Verify assignment, not just total outputs
A 7.1.4 passive-speaker plan has seven ear-level speakers and four heights. That is eleven speaker amps. A receiver with nine built-in amps needs a supported external-amp route for the remaining pair. Processing eleven channels does not power them. Check the exact assignment before buying the extra speakers or amp.
Some channels can be assigned to heights, a second zone or another function. Those uses may share the same amps. Count the simultaneous layout you need. Do not add every printed terminal label together and assume all can work at once.
The receiver comparison includes seven-amp and nine-amp choices. Its Denon primary facts distinguish internal amplification from processing. Use that difference when planning a later expansion.
Check the source path
List the source or receiver, or else bar, and display. Note which device sends the audio to the decoder. A receiver-first route and a TV eARC route have different compatibility checks. Check the exact audio format at every link.
Atmos can be carried in different supported formats. A streaming title and a disc can use different paths. A TV that passes one does not automatically pass the other. Read the device manuals and check the actual reported playback format.
Keep soundbar claims separate
A bar can advertise Atmos without separate ceiling speakers. Its height method may use upward drivers or processing, or else both. A large listed channel count is not a box count. Check whether rear units and a sub are included or optional.
The Atmos soundbar guide explains those room checks. The soundbar roundup compares the selected package choices. Neither turns a bar into a receiver with freely assignable passive speakers.
Use the matching placement guide
Dolby's primary setup directory provides layout-specific routes and a connection overview. Start there, then use the exact speaker and receiver manuals. A diagram for another channel count is not a substitute.
Check the speaker placement guide against the room drawing. Include beams, door openings and the seating row. Keep the screen and speaker plan together so heights do not become a reason to block another required fixture.
Verify before closing the cable route
Label each height cable at both ends. Confirm the channel with a supported test signal. Check polarity and connections as the manuals direct. Then run the receiver's supported room setup. Moving a speaker later may require repeating that setup.
Do not use a large EQ boost to hide a poor location. Start with the physical speaker path. Software may adjust levels and frequencies, but it does not make a blocked driver point into the room. Keep the actual problem separate from the feature name.
Plan safe overhead work
Check the ceiling construction, fixing method and equipment weight. Know what lies above a cutout before opening it. Cable and electrical work must suit the location. Use qualified help when you cannot establish a safe route or load-bearing fixing.
If the heights cannot be placed safely, retain a usable ear-level system. A channel count is not worth an unsafe installation. You can reserve a future route without buying speakers that have no verified place.
Dolby Atmos home theater system verdict
For a hypothetical 5.1.2 plan, write five ear-level passive speakers and two passive heights. That is seven speaker amps. Write the powered sub separately. Check that the receiver supports that exact assignment with any second-zone needs you have. Do not count a powered sub as the eighth speaker amp.
For a hypothetical 5.1.4 plan, nine passive speakers need power. A receiver with nine amps may cover that count, but the supported assignment still matters. A receiver with seven amps and more processing cannot power the missing pair just because it has pre-outs. Verify the permitted external-amplifier route.
These counts explain why the product comparison separates seven- and nine-amp choices. They are not a promise that either hypothetical layout fits your room. Check the ceiling and each speaker location. Keep the source-format path on the same worksheet so the hardware plan can actually play the chosen mix.
If the new heights are a future stage, reserve a verified cable path now. Keep both ends labeled. Do not connect unused wires to live equipment or leave exposed conductors where they can short. Follow the actual equipment and installation instructions when the stage is built.
Match the supported mix, decoder, amplifier count and physical layout. Keep each check distinct. The complete home theater system guide compares simpler audio-package routes if a larger Atmos system is not the right fit.