
Dolby Atmos Soundbar: What Makes It Different
How Dolby Atmos soundbars create a sense of height without ceiling speakers, and what to check before buying one over a standard soundbar.
Contents12
- How the height effect works
- What you need to actually hear it
- Expanding beyond the soundbar alone
- Choose real height drivers or virtual height
- Check the whole seating row
- More in this guide
- Check the Dolby Atmos soundbar signal path
- Choose the package before choosing a channel number
- Make the height path workable
- Use room tuning without expecting it to fix the room
- Troubleshoot without changing everything at once
- Dolby Atmos soundbar verdict
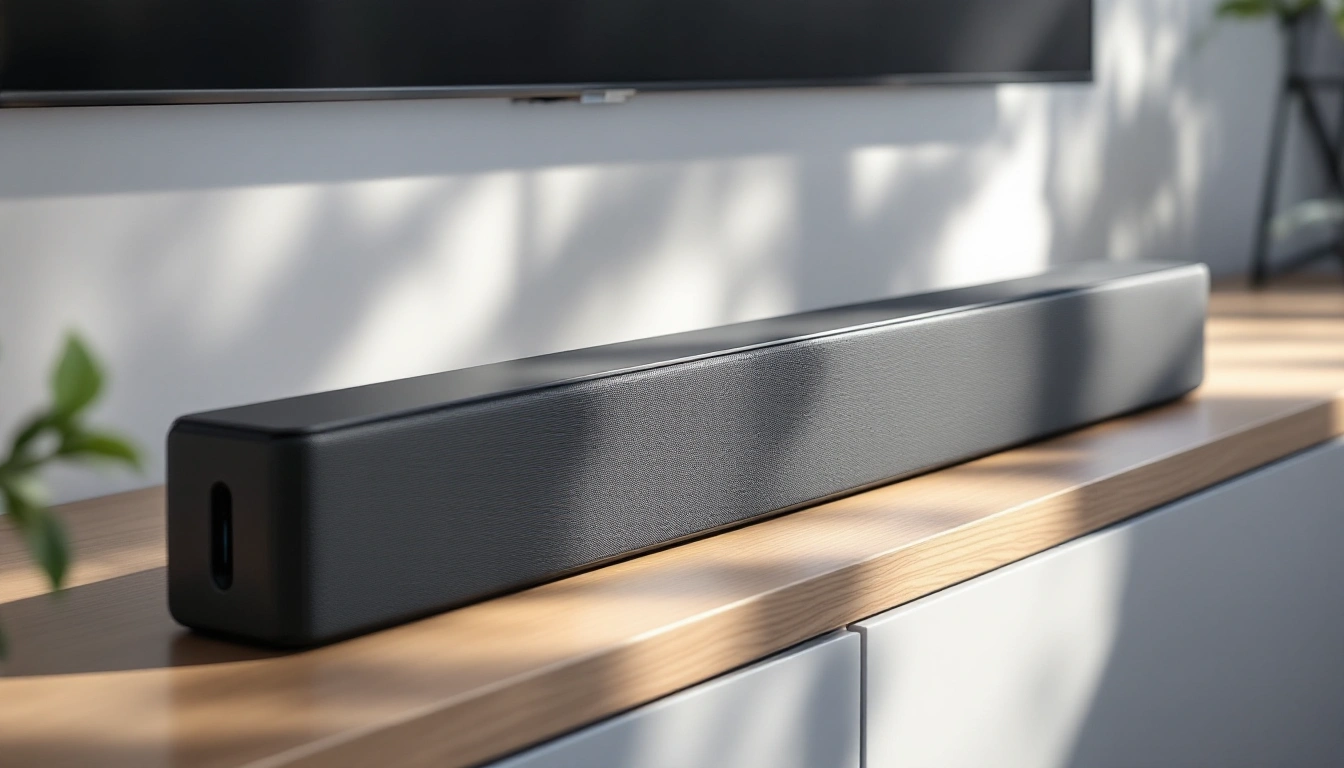
A Dolby Atmos soundbar is one way to play an Atmos mix without a receiver and separate ceiling speakers. The bar may use upward drivers, sound processing or both. Check the source format and room fit before buying. An Atmos logo alone does not guarantee a strong overhead effect at every seat.
How the height effect works
Upward drivers send sound toward the ceiling. The reflected path depends on surface and angle, plus obstacles. A shelf over the bar can block the path before sound reaches the ceiling. Check the exact model's placement instructions.
Virtual height uses processing rather than that same physical reflection. Its result also depends on the listener and setup. Do not promise that it always works better under a difficult ceiling. Compare supported modes from the seats you use.
What you need to actually hear it
Two things have to line up for the Atmos effect to show up at all:
- Atmos-encoded source content. Most major streaming services carry at least some Atmos-mixed titles, and Atmos is common on 4K Blu-ray movie releases. Regular broadcast TV and older content generally isn't Atmos-encoded, so the height effect won't be present regardless of your soundbar.
- A room that supports the reflection, if you're relying on upward-firing drivers rather than virtualization; see the ceiling notes above.
Expanding beyond the soundbar alone
Many Dolby Atmos soundbars can pair with optional wireless rear speakers, adding real rear-channel sound to go with the simulated height; a middle ground between a simple soundbar and a full surround system. If you're chasing the strongest possible Atmos experience rather than a soundbar-based approach, see the best Dolby Atmos soundbar comparison or the full Dolby Atmos home theater system guide for how a dedicated speaker layout compares. For exact speaker and height-channel placement if you do go the full-system route, see Dolby Atmos speaker placement.
Choose real height drivers or virtual height
An up-firing model makes sense when the bar can sit in the open under a hard, level ceiling at a typical room height. The top drivers need a clear path. A deep shelf above the bar can block that path before the sound reaches the ceiling.
Virtual height is the safer choice when ceiling bounce is weak. That includes vaulted rooms and soft ceilings. It also helps when the bar sits inside a cabinet. It uses signal processing instead of a ceiling reflection.
The result may sound less fixed above you, but it will not depend on one narrow bounce path. If a model has both modes, test them from the same seat and at the same volume. Keep the mode that makes sound seem higher without making voices thin or sharp.
Check the whole seating row
The main seat often gets the clearest height effect. A wide sofa may put the end seats outside the strongest reflection area. Play the same short Atmos scene from the middle and both ends of the row. If the effect falls apart at the edges, favor clear dialogue and balanced front sound over a dramatic result in one chair.
More in this guide
Check the Dolby Atmos soundbar signal path
Start with the actual programme
Use a title and audio track that list Atmos on your supported service or disc. Check the service plan and playback device. A title may offer different audio on different platforms or languages. Do not assume that a badge beside the title means every track uses Atmos.
Keep an ordinary dialogue scene as a second check. The system still needs to work well with non-Atmos TV. A purchase that helps only with a rare demo may not fit your daily use. Choose features based on the content you actually watch.
List every device between source and bar
Write the source, TV and soundbar model names. Note which socket connects each pair. If a receiver or switch, or else adapter sits between them, include it too. That drawing exposes where a format may be changed or blocked.
Check the TV port labeled ARC or eARC. Those labels describe return audio through HDMI. A normal HDMI input may not return TV sound to a bar. The bar's matching port and the TV settings must also be correct.
Do not add a device to the path just because it has the right plug. Check the supported formats and routing mode. A connector shape is not a full compatibility statement. Keep the manual page that supports the chosen route.
Keep ARC and eARC limits specific
eARC can carry audio formats needing more bandwidth than ordinary ARC. Whether a particular source reaches your bar still depends on the TV and settings. Do not treat the newer label as proof that every source format will pass through.
Sonos's Arc Ultra page gives a concrete example. It lists Dolby Atmos through Dolby Digital Plus separately from eARC-required formats. Dolby TrueHD, Atmos via TrueHD and multichannel PCM are marked as needing eARC. Those are facts about that bar, not a blanket claim about every model.
That distinction matters for a disc player and a streaming app. They can send different formats. Check the actual format reported by the system rather than assuming one successful stream proves the disc route. If a setting converts the signal, the logo on the box does not reverse it.
Optical is a separate fallback
An older TV may offer optical audio. Check the bar's exact optical support or approved adapter. For the Arc Ultra, Sonos lists the adapter as separately sold. Optical is not the Atmos path described for that product.
If optical is your only usable connection, decide whether the bar's ordinary TV sound meets your goal. Do not buy it on the promise that an adapter creates every HDMI format. Resolve the TV route before treating height playback as an accepted feature.
Check the reported format during playback
Use the bar's app or display when it reports the incoming audio. Sonos's manufacturer page states that its app shows the format being decoded. That helps distinguish an Atmos stream from ordinary stereo. Other models may show formats differently; consult their manuals.
Do not rely on a processing-mode name as the only evidence. A surround or height mode can work on non-Atmos audio. The incoming format and the selected sound mode are different facts. Record both if you are troubleshooting.
If Atmos is missing, change one setting at a time. Check the source's audio output, then the TV's pass-through setting, then the bar's status. Keep the starting settings so you can restore a working route. Avoid resetting every device at once.
Choose the package before choosing a channel number
Included rear speakers change the room plan
The Q990D and Q990F packages include rear speakers and a sub in their packages. The Arc Ultra listing describes compatible additions as optional. That is a concrete buying difference. It affects space and outlets, plus the order of purchases.
A complete package makes sense when the rear positions are usable now. If the sofa backs onto a main walkway, first decide where the units can sit safely. Do not buy a rear pair with the plan to put it anywhere later. Its physical position is part of the sound system.
The single-bar route makes sense when later expansion is deliberate. Before buying, confirm the exact supported add-ons. The reviewed Sonos page describes Sonos Sub and Era 300 expansion. It does not promise compatibility with any Bluetooth rear speaker or powered sub.
Channel count is not box count
An 11.1.4 label does not mean you place eleven separate speakers around the room. Bars use multiple drivers and processing within their housings. Rear units add physical locations, but the whole arrangement differs from an AV receiver with passive speakers.
Use the channel label to understand the listed system, then read its diagram. Count the boxes needing power. Mark their driver directions and cable paths. Those details decide fit more directly than choosing the highest number.
For a receiver-based plan, use the Atmos system guide. That route requires amplifier and assignment checks. A soundbar's listed channel count is not evidence that a receiver can power the same number of passive speakers.
Expansion has a total footprint
If you start with one bar, draw the later sub and rear pair now. Confirm outlets and safe locations. Adding them later does not remove their space demands. It only changes when you make those purchases.
For a package, read the exact seller's included list. Keep the model suffix and region variant consistent. A family photograph is not proof of every supplied box. We do not publish current stock or prices from September specifications.
Make the height path workable
Keep the bar out of a closed recess
Check the manual for clearance around the top and sides. A bar hidden inside a cabinet can lose the driver paths its design expects. Seeing the front grille does not prove the top drivers are open. Move or mount it according to the actual instructions.
Measure the bar's height against the bottom of the TV. Check the remote sensor as well as the image. A bar that fits the stand width can still block either. Use the dimensions for the exact model, not a similar bar in the same series.
Inspect the ceiling, not just its height
Note slopes and beams, plus absorbent surfaces above the seats. Reflected sound needs a suitable path. A hard flat surface may be more suitable than a steeply sloped one, but the module's documented limits still matter. Do not turn typical-room language into one universal ceiling number.
Check the area the reflection would use. A beam can interrupt it even when the rest of the ceiling is flat. A large light fixture may be another obstacle. The room drawing should include these, not only wall dimensions.
Include the ends of the sofa
Listen from the center and outer seats if you can try the system. Use the same short scene at the same level. Check whether the perceived height and dialogue remain useful at the edges. Keep the main household seats in the choice.
If one chair gets the best effect while other seats struggle, do not call the room solved. Decide whether clearer dialogue and balanced front sound matter more than one dramatic height result. We have not performed that room test for you, so this remains a check to make.
Mounting needs separate evidence
A placement guide does not verify wall construction. Use a compatible mount and the correct fixing method. Keep overhead or heavy equipment safe. Get qualified help if the support or cable route cannot be established.
Do not rotate equipment or obstruct vents to suit a diagram. The model's operating orientation and cooling instructions still apply. A calculator or room sketch cannot override them.
Use room tuning without expecting it to fix the room
Start with the physical positions
Place the bar and any rear speakers as instructed. Set the sub in a permitted trial location. Only then use the supported calibration routine. A room-tuning label does not create an outlet, clear a blocked driver or change the ceiling slope.
After moving a unit, check whether the manual calls for setup again. Old measurements may describe the old position. Keep the new physical arrangement and settings together in your notes so future changes are not guesswork.
Separate dialogue modes from height modes
Speech tools are designed to help voices. Night modes alter the balance of louder and quieter sounds. These are different tasks from height playback. Sonos lists Speech Enhancement and Night Sound for the Arc Ultra, but we do not claim a measured improvement in your room.
Try one control at a time with content you know. Match the normal listening level. A louder setting can seem better in a quick comparison even if it is less suitable for everyday use. Keep the mode that meets the household's goal.
Do not confuse tuning with soundproofing
A sub can still transmit low bass through floors and walls. A night setting is not a structural noise barrier. If sound leakage is the real problem, use the soundproofing guide to separate room treatment from transmission control.
Acoustic panels absorb some reflections in the room. They do not simply stop sound leaving it. The acoustic-panel guide explains that distinction. Do not buy foam as a substitute for a safe, evidence-based sound-isolation plan.
Troubleshoot without changing everything at once
No sound or wrong format
Confirm the selected source and bar input. Check both cable ends and the labeled TV return-audio port. Review the audio output setting on the source. Then check TV pass-through and the bar's reported format. Stop once you identify the limiting link instead of making unrelated changes.
Keep a known working ordinary-audio route while troubleshooting Atmos. That shows whether the problem is basic connection or format support. Do not assume a silent channel proves broken hardware before the documented setup checks.
Weak height impression
First confirm an Atmos mix is actually arriving. Then inspect the top-driver path and ceiling, plus seat location. Compare a supported mode only after those checks. Increasing every channel level is not a diagnosis of a blocked reflection.
If the ceiling remains unsuitable, compare another supported method or a simpler listening goal. A bar may still provide useful ordinary sound. The right decision can be to stop pursuing a height effect the room cannot deliver as planned.
Rear link or bass problems
For wireless units, check pairing and power, plus the final room positions. Follow the manufacturer's sequence. Do not assume a brief pairing success proves a stable link under every condition. Keep cords and units in safe locations while checking.
For bass, compare permitted sub positions before making large EQ changes. Check the main seats separately. A louder corner response can still be uneven across the sofa. If a move changes the room setup, repeat the supported routine as directed.
Dolby Atmos soundbar verdict
A concrete connection worksheet
Write one row for each source you use. For a streaming app on the TV, the source is the TV itself. A disc player connected to the TV adds an input stage; check its output separately. For a separate streamer, record its exact model and output setting. Do not combine these into one vague TV-compatible claim.
Next write the audio format the source is meant to send. Keep a service's available Atmos track separate from the bar's ability to decode it. A service plan or chosen language can affect the track available. Verify that item on the source before troubleshooting a ceiling or speaker position.
Now record the TV output port and setting. Note whether the manual permits pass-through for that format. Then record the bar's matching input. For Arc Ultra, the reviewed primary format list marks some formats as eARC-required.
Use that fact for this model. Do not apply it to another bar without its own manual.
Finally record the format actually reported during playback. Keep that observation dated. If the format differs from the plan, the worksheet shows which links remain to check. It also gives you a working starting point if a future firmware or source change alters playback.
A room-fit worksheet alongside it
Measure the available space under the TV. Include the screen edge and remote sensor, not just the console width. For the Arc Ultra example, compare the reviewed 46.38-inch width and 2.95-inch height with that space. Confirm the full depth and cable access too.
For a Samsung package, mark the rear pair and sub on the drawing. Add their outlets and any required leads. Check the occupied room, including doors and recliners. Do not treat a clear floor plan as proof that the same locations remain clear in normal use.
These two worksheets solve different failures. A verified incoming Atmos format does not prove useful height at every seat. A good physical position does not prove that Atmos reaches the bar. Finish both before deciding that a feature is accepted in your room.
Confirm the programme, source path and reported format first. Then check package contents and the room's physical paths. Choose the complete package when rear positions are ready. Choose staged expansion only with compatible add-ons and a real later placement plan.
Use the general soundbar guide when simpler TV audio is the main task. Use the receiver-based Atmos guide for freely placed separate speakers. Compare the packages by room fit and included equipment. We have not scored them in a listening test.
Our picks in this topic
3 picks
3 Best Dolby Atmos Soundbars in 2026
How to find the best Dolby Atmos soundbar for your room and viewing habits, judged by the specs and trade-offs that matter, not marketing copy.
Questions people also ask
Does a Dolby Atmos soundbar need ceiling speakers?
No; that's the point of upward-firing drivers, which bounce sound off the ceiling instead of speakers being mounted in it. Some soundbars also offer processing-only height virtualization for rooms where ceiling bounce doesn't work well.
Will a Dolby Atmos soundbar work in a room with a high or sloped ceiling?
Less well. Upward-firing drivers rely on a fairly low, flat, hard ceiling surface to reflect sound back down toward the listener. A vaulted, very high, or heavily sloped ceiling weakens or scatters that reflection, so the height effect is less convincing in those rooms.
Is Dolby Atmos worth it if I mostly watch regular TV, not movies?
Less so. Atmos's height effects are most noticeable in movie and some game soundtracks that are specifically mixed to use them. Regular broadcast TV rarely carries Atmos audio, so day-to-day viewing won't showcase the feature much; worth weighing against your actual viewing habits.