
Home Theater Installation: What to Plan Before You Start
The order home theater installation actually goes in: wiring, mounting, calibration, and the mistakes that force people to redo work later.
Contents8
Home theater installation turns the room plan into a working system. Confirm the seats and image, plus speaker positions first. Then plan safe fixing, cable routes and connections. Finish with setup and checks. Do not mount heavy equipment before verifying the building support.
Plan wiring before you mount anything
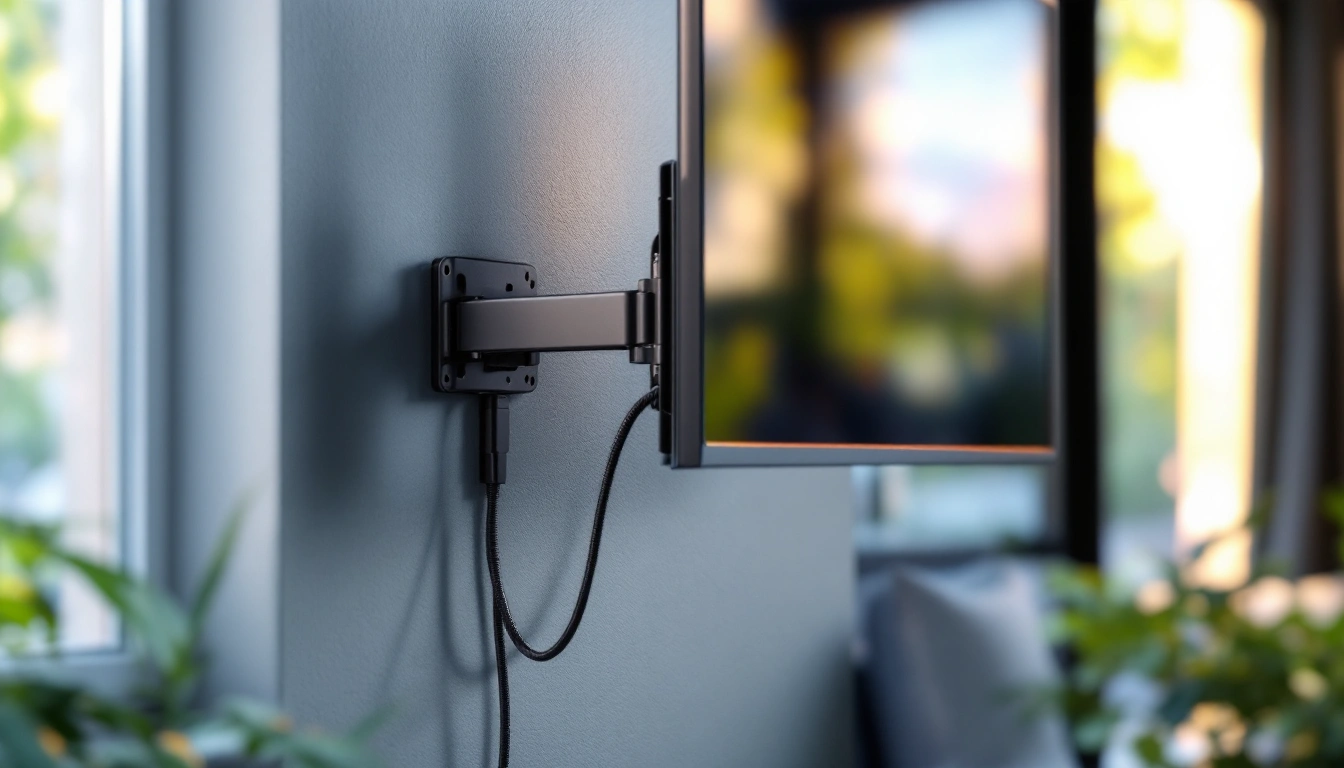
Mark the endpoints and complete route for every cable. Keep signal wiring and mains work distinct. Use cable and installation methods suited to the location and local rules. Do not route an ordinary power lead inside a wall to avoid installing a proper outlet.
If walls are open, decide which future signal routes are useful. Leave a serviceable path rather than buying unused speakers. Check the final signal before closing the route. A cable that passes a loose bench check can still need testing at its installed length.
Mounting: screen and speakers, plus receiver placement
- Screen or TV height should put the vertical center roughly at seated eye height for the front row. This is easy to get wrong on a first mount because a screen looks high on an empty wall but sits correctly once furniture and seating are in place; mount slightly lower than instinct suggests, or measure from an actual seated position rather than eyeballing it.
- Speaker placement for the front stage should keep left and right speakers roughly equidistant from the main seating position, with the center channel between or below the screen. Surround speakers, if you're installing them now, go to the sides or slightly behind the main seats, not directly behind at ear-splitting proximity.
- Receiver placement needs ventilation; receivers generate real heat under load; and short, manageable cable runs to the screen and speakers. An enclosed cabinet with no airflow is a common cause of receivers overheating and shutting down mid-movie.
Connecting the system
A source can feed the receiver first, with the receiver sending picture to the display. A supported TV ARC or eARC route can send TV audio back instead. Choose the route from the actual formats and ports. Neither arrangement is a universal rule for every system.
Label each cable at both ends. Match speaker polarity as the manuals direct. Disconnect power before making the relevant connections. Check that loose wire strands cannot bridge nearby terminals.
Calibration: the step most people skip
Use the receiver's supported setup routine after the speakers are in place. Position the microphone as its manual directs and keep the room quiet. Review the assigned speakers and levels afterwards. Calibration does not fix a blocked speaker or prove that a mount is safe.
Common mistakes worth avoiding
- Committing to furniture placement before running wire. Decide on a rough layout, run wiring generously, then finalize furniture; not the reverse.
- Skipping calibration because "it sounds fine." An uncalibrated system usually sounds acceptable but rarely sounds as good as a calibrated one; it's a free improvement most people never claim.
- Mounting the screen by eye instead of by measurement. A screen that looks right on an empty wall is often too high once you're actually seated and watching.
What comes next
Once installation and calibration are done, the complete home theater system guide and the 5.1 home theater system guide cover how to plan the speaker layout and receiver choice this installation work is built around, if you haven't settled those yet.
Prepare a home theater installation handover
Give the installer a measured plan
Write the room dimensions, image boundary and main seat position on one drawing. Add doors and windows, plus furniture in normal use. Include recliners with the footrests extended. This prevents an equipment position from taking over an aisle.
List the exact models you have chosen. Include the mount and screen frame, not only the display. A generic TV size does not tell the installer the fixing pattern or full weight. A projector diagonal does not establish its mount distance.
Divide simple connections from building work
Connecting accessible consumer equipment is different from installing a new circuit or load-bearing fixing. State which work is needed. If the wall construction or ceiling support is uncertain, resolve it before drilling. Do not infer a safe anchor from a photograph of a completed room.
For new power or concealed wiring, use qualified help where required. Ask how the circuit, cable type and route will be verified. Keep the relevant instructions with the handover. The plan is a communication tool, not a safety certificate.
Check one path at a time
First confirm picture from one known source. Check the display mode and image position. Then check audio from that source. This narrows a fault without changing every setting at once.
Use supported channel test signals to confirm each speaker. A surround swapped with a rear or height channel can still make noise, but it is not the correct layout. Fix the labels and connections before running room setup again.
Keep ventilation and service access
Use the exact receiver's clearance requirements. Leave the air path open and keep leads clear of vents. A neat closed cabinet is not a reason to ignore heat. Record how the equipment can be disconnected safely.
For a lamp projector, keep the lamp-service path accessible. For a powered screen, leave access to the motor and controls. For speakers, keep the selected fixing instructions. Service needs should be part of the initial position choice.
Retain a useful closeout record
Keep model names and manuals, plus cable labels together. Save the working source and audio settings. Write which remote controls each task. Note any unused cable route so a later upgrade does not require guessing behind a wall.
Inspect the room with the equipment running. Check the main seats and walkways. Confirm that doors still open and plugs remain accessible. Check ordinary dialogue at normal level, not just a loud effects demo.
Know what remains unverified
A successful picture does not prove every video format works. A channel test does not prove the room has even bass. A mounted screen does not prove the fixing was correctly selected. Keep those checks distinct in the handover.
If an installer cannot verify a requested placement safely, change the plan before accepting the work. Do not trade a blocked exit or unsafe fixing for an idealized layout. A smaller usable system is the better result.
Home theater installation verdict
Measure, verify fixing and cable routes, then connect and check the real equipment. Use the complete system guide for package choices and the 5.1 guide for channel planning. Installation should follow those decisions, not force them after drilling.
Questions people also ask
Can I install a home theater myself, or do I need a professional?
Basic setups; a TV or projector, a soundbar or AV receiver, and speakers on stands or shelves; are reasonable DIY projects. In-wall or in-ceiling wiring, wall-mounted heavy equipment, and dedicated-room electrical work are where hiring a professional starts to make more sense, mainly for safety and for getting wiring right the first time.
What should I run wiring for even if I'm not using it yet?
Speaker wire to future surround and height-speaker locations, if you're planning an upgrade later. Running wire while walls are open is far cheaper and less disruptive than fishing it through finished drywall after the fact.
Do I need to calibrate the system after installation?
Yes, at least the basic level. Most AV receivers include an automatic speaker calibration routine using a supplied microphone, which measures distance and level for each speaker and adjusts the receiver's output to match. Skipping it usually leaves the sound noticeably unbalanced across the speakers.